
Updated on: 2025-10-23
Table of Contents
-
Practical Guide: How to use HEMA-free gel polish step-by-step
- Step 1: Choose a HEMA-free gel polish or HEMA-free gel lacquer
- Step 2: Prep nails for adhesion and smoothness
- Step 3: Apply a thin base coat
- Step 4: Build color in thin layers
- Step 5: Seal with a glossy or matte top coat
- Step 6: Gentle aftercare for lasting wear
- Troubleshooting: Tips to improve wear time
- Key Advantages of HEMA-free gel polish
- Summary and next steps for choosing HEMA-free nail products
- Q&A: HEMA-free gel polish questions answered
- About the author
Practical Guide: How to use HEMA-free gel polish step-by-step
Curious about shifting your routine to HEMA-free gel polish? You’re not alone. Many shoppers look for HEMA-free nail products and hypoallergenic gel polish options to keep their manicure simple and predictable. Below is a clear process you can follow at home or in a studio to get a smooth, glossy result with HEMA-free gel nail polish from start to finish.
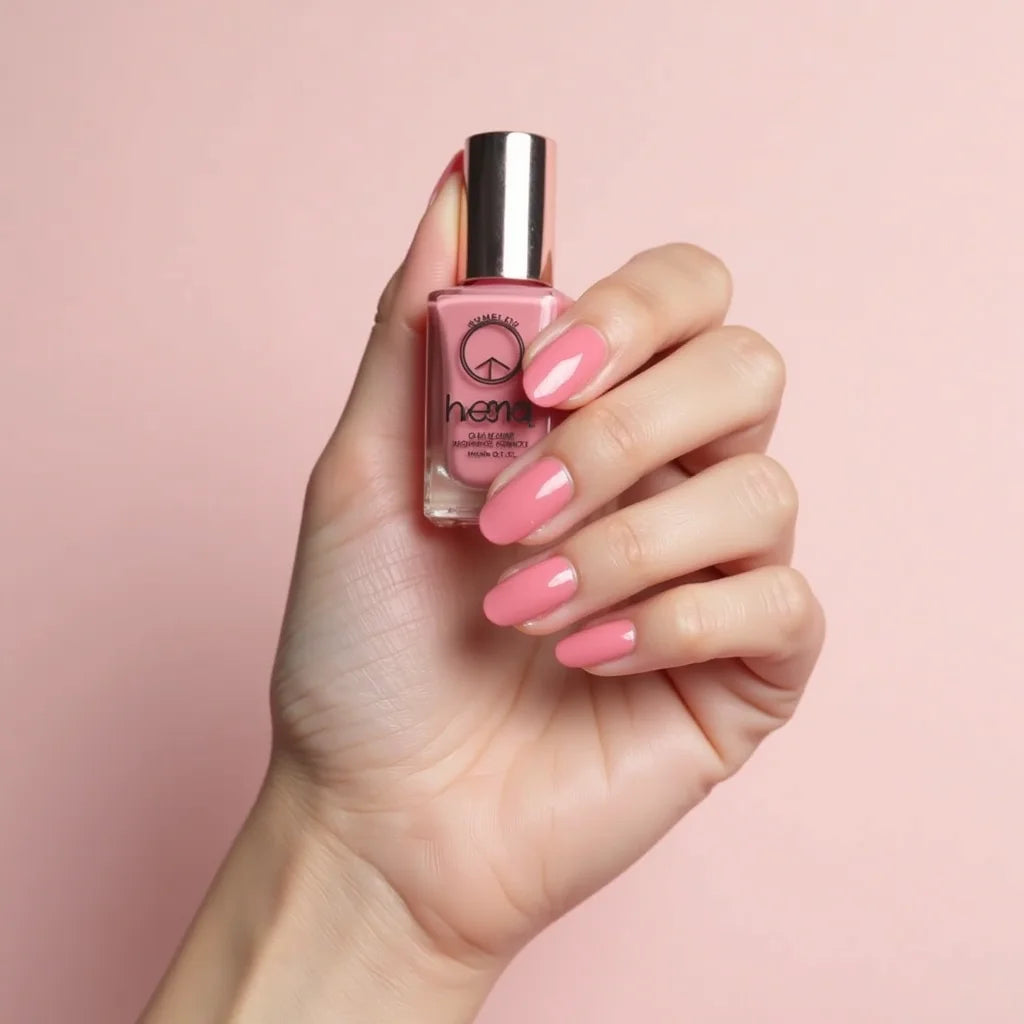
Step 1: Choose a HEMA-free gel polish or HEMA-free gel lacquer
Start by selecting a formula that’s explicitly labeled “HEMA-free.” You may see it described as HEMA-free gel polish or HEMA-free gel lacquer—both terms are used in the industry. If you’re browsing, look for clear product pages and ingredient disclosures. Many shoppers also search for the best HEMA-free gel polish for sensitive nails or HEMA-free gel polish brands for allergy-prone users to discover lines that highlight their ingredient approach.
Tip: If you’re switching from regular gel, consider a matching HEMA-free base and top coat from the same brand to keep the system consistent.
Step 2: Prep nails for adhesion and smoothness
Great prep helps any gel—HEMA-free or not—look better longer.
- Wash hands and dry thoroughly. Oils or moisture can disrupt adhesion.
- Shape nails and lightly buff the surface with a fine buffer to remove shine.
- Push back cuticles carefully and remove any non-living tissue on the nail plate.
- Wipe nails with a lint-free pad and a gentle cleanser to remove dust.
Keep it light. Over-buffing or harsh prep isn’t necessary for good wear and can work against you.
Step 3: Apply a thin base coat
Use a base coat that’s designed to pair with HEMA-free gel polish. Apply a thin, even layer, capping the free edge. Cure according to the brand’s lamp and timing instructions. Thin layers cure more evenly and provide a smooth surface for your color.
Step 4: Build color in thin layers
Apply your HEMA-free gel polish color in 1–3 thin coats rather than one heavy coat. Each thin coat should be cured as directed. If you’re new to a brand, start with shorter cure times recommended by the manufacturer and adjust only if needed. Keep your strokes feather-light and avoid flooding the cuticle area so your manicure grows out neatly.
Step 5: Seal with a glossy or matte top coat
Finish with a compatible HEMA-free top coat. Cap the free edge and cure fully. If your top coat leaves a tacky layer, cleanse it per brand instructions to reveal the final shine or matte finish. A well-sealed top coat boosts gloss and helps protect from everyday wear.
Step 6: Gentle aftercare for lasting wear
After your manicure, be kind to your hands. A few small habits go a long way:
- Wear gloves for household chores to reduce exposure to water and detergents.
- Use cuticle oil daily to keep the nail area looking fresh.
- Avoid picking or prying—use tools, not nails.
These simple steps support a clean, long-lasting result with HEMA-free gel polish.
Troubleshooting: Tips to improve wear time
If your HEMA-free gel lacquer seems to wear differently from your previous routine, try these tweaks:
- Shorten your color layers. Thin, even coats cure more predictably.
- Check lamp compatibility. Make sure your lamp’s wavelength and wattage match brand guidance.
- Consider nail prep. A gentle buff and thorough cleanse help adhesion.
- Pair base/top from the same HEMA-free system when possible.
- Cap the free edge on every layer.
Key Advantages of HEMA-free gel polish
HEMA-free gel polish has become popular for shoppers who prefer a streamlined ingredient list. Here are practical advantages people look for:
- Ingredient clarity: Products labeled HEMA-free make it easier to understand what’s included (and what’s not).
- System consistency: Many brands offer matching HEMA-free base, color, and top coat for predictable results.
- Comfort-first approach: Shoppers who want to avoid certain ingredients appreciate having a dedicated option.
- Comparable shine: You can achieve the same glossy or matte finish you’re used to, using familiar techniques.
- Flexible choices: With more HEMA-free nail products on the market, it’s easier to find shades and finishes you love.
If you’re exploring HEMA-free gel polish brands for allergy-prone users, consider browsing retailers or brand sites that publish full ingredient lists and application guides. You can often filter by finishes, cure times, and system compatibility, which makes it easier to build a go-to routine.
Summary and next steps for choosing HEMA-free nail products
Switching to HEMA-free gel polish doesn’t mean reinventing your manicure. With careful prep, thin layers, and a matching base/top system, your routine will feel familiar and straightforward. The main decision is choosing a HEMA-free gel nail polish line that fits your lamp, wear goals, and color preferences.
Next steps you can take today:
- Compare labels: Look for “HEMA-free” on base, color, and top coats.
- Test wear: Try one or two shades first to dial in cure time and layer thickness.
- Keep notes: Track prep steps, lamp settings, and results so you can repeat what works.
- Maintain aftercare: Gloves for chores and daily cuticle oil make a noticeable difference.
If you’re browsing for options or application tips, you can also check the brand pages and product education from trusted retailers like BUT 1ST NAILS to understand how their systems are designed to work together.
Friendly reminder: This article shares general, educational information to help you evaluate product features and techniques. It isn’t professional advice. Always follow the instructions from your chosen brand and your lamp manufacturer.
Q&A: HEMA-free gel polish questions answered
What is HEMA-free gel polish and is it safer for sensitive skin?
HEMA-free gel polish is a gel formula made without 2-hydroxyethyl methacrylate (often listed as HEMA). Some shoppers prefer to avoid specific ingredients and choose HEMA-free options instead. Whether a product feels like a better fit is personal. If you’re considering a switch, review labels, follow brand directions, and consider a small test on one nail first. For personalized guidance, a licensed nail professional can help you evaluate product choices for your routine.
Does HEMA-free gel polish last as long as regular gel polish?
Wear time depends on prep, application, and daily habits. Many users report comparable results when they apply thin layers, use compatible base/top coats, and cure under a suitable lamp. If you notice early lifting, double-check your prep, make sure each layer is thin and fully cured, and pair products from the same system when possible.
Is HEMA-free gel lacquer the same as HEMA-free gel polish?
In everyday use, these terms are often used interchangeably. Some brands prefer “gel lacquer” while others say “gel polish.” What matters more is that the product is clearly labeled HEMA-free and that you use it with the recommended base and top coat.
How do I check ingredient lists for HEMA?
Scan the ingredient panel for “HEMA” or “2-hydroxyethyl methacrylate.” If you don’t see the full list on the bottle, check the brand’s website or product page. When in doubt, reach out to customer support for a current ingredient disclosure.
About the author
BUT 1ST NAILS
BUT 1ST NAILS shares approachable guides on gel systems, tools, and techniques so you can create polished results at home or in the studio. With a focus on clear labeling and practical how-tos, we help shoppers compare options like HEMA-free gel polish with confidence. Thanks for reading—hope this guide made your next manicure a little easier.