
Updated on: 2025-10-21
Table of Contents
- Why Shop But 1st Nails Gel and Acrylic Products for Nail Art, DIY Tutorials, and Classes
- Essential Tips to Shop But 1st Nails Gel and Acrylic Products and Nail Art Supplies
- Detailed Step-by-Step Process: From Unboxing to Your First Set with But First Nails
- Summary & Takeaway: Shop But 1st Nails Gel and Acrylic Products Nail Art Supply DIY Tutorials Classes
- Q&A: Shop But 1st Nails Gel and Acrylic Products, Nail Art Supplies, DIY Tutorials, and Classes
- About BUT 1ST NAILS: Expertise in Gel, Acrylic, Nail Art, and DIY Lessons
Why Shop But 1st Nails Gel and Acrylic Products for Nail Art, DIY Tutorials, and Classes
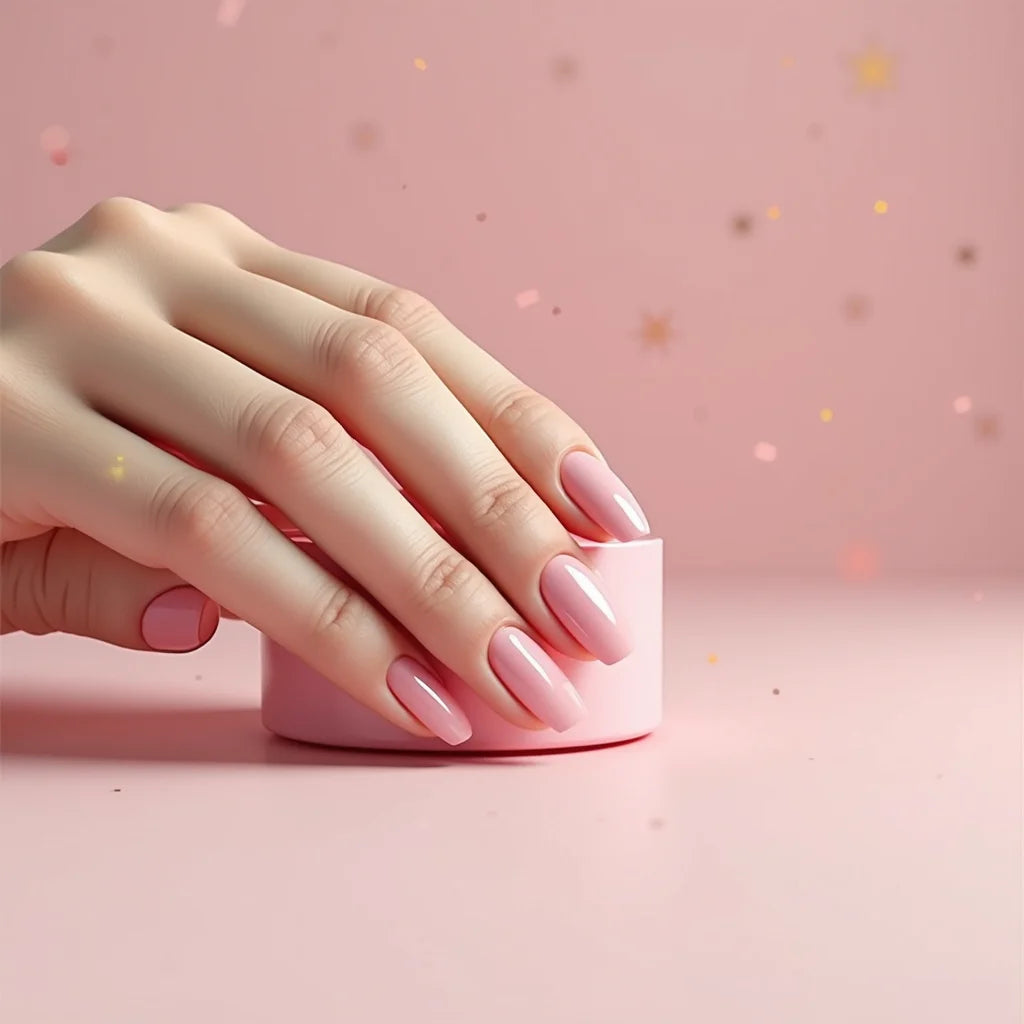
If you’re ready to level up your mani skills, the smartest move is to shop But 1st Nails gel and acrylic products nail art supply DIY tutorials classes in one place. It saves time, reduces guesswork, and keeps your results consistent. Whether you want a glossy gel polish manicure, a durable acrylic set, or eye-catching nail art, having the right kit and clear guidance is everything. That’s where a curated shop and helpful lessons make all the difference.
With a focused range of gel nail kits and acrylic starter sets, supportive DIY lessons, and approachable guidance, you can get professional-looking nails at home. When you’re unsure where to begin, it’s helpful to start with a basic plan: choose your system (gel or acrylic), pick beginner-friendly tools, follow a simple process, and then layer in nail art when you’re comfortable.
Want to browse what’s new and popular right now? Visit But 1st Nails for current products and helpful resources.
Essential Tips to Shop But 1st Nails Gel and Acrylic Products and Nail Art Supplies
Tip: Understand Gel vs. Acrylic Before You Buy
Before you buy But 1st Nails gel and acrylic supplies, get clear on your goals and lifestyle.
- Gel systems are flexible, glossy, and cure under a lamp. They’re great if you love quick color changes, want smooth overlays, and prefer low odor.
- Acrylic systems are strong and sculptable. If you’re hard on your hands, want extra length, or like strong structure, acrylic can be a match.
- Mixing is fine. Many beginners use a gel base and top while practicing acrylic structure on tips. The key is compatibility and following instructions for each step.
Either way, aim for a simple starter approach—build comfort with prep, structure, and finishing first, then add nail art. This is the easiest path to consistent results when you shop But 1st Nails gel and acrylic products nail art supply DIY tutorials classes.
Tip: Pick Gel Nail Kits and Acrylic Starter Sets That Fit Your Goals
The best gel nail kits and acrylic starter sets include high-use essentials, not extras you’ll never touch. Look for:
- Gel kit: base coat, builder or solid extension gel, color gels you’ll actually wear, a reliable lamp, plus top coat.
- Acrylic set: liquid monomer, clear and cover powders, quality brushes, dappen dish, and forms or tips that suit your nail shape.
- Prep must-haves: dehydrator, primer (when recommended), lint-free wipes, and gentle files and buffers.
- Safety and care: gloves if needed, a mat for spills, and storage that protects brushes and bits.
If you’re unsure where to start, explore the full range and compare bundles on Shop all.
Tip: Tools and Nail Art Supplies That Make a Real Difference
It’s tempting to grab every glitter and chrome powder, but a few tools pull the most weight:
- Cuticle pusher and nippers for tidy prep.
- 180/240 grit files and a soft buffer for shaping and smoothing.
- Quality gel brush and an acrylic brush sized for control (often #8–#10 for beginners).
- Detail liner brush, dotting tool, and a mixing palette for nail art.
- Forms or tips that match your preferred length and curve.
Start minimal. Your technique matters more than having a drawer of products. Once your base set looks consistent, add nail art supplies like foils, decals, and flakes to stretch your creativity.
Tip: Choose DIY Tutorials and Nail Technician Classes and Workshops That Match Your Level
Support matters. But First Nails shop for gel and acrylic products, nail art supplies, DIY lessons can bridge gaps fast. When you choose nail technician classes and workshops or online DIY lessons, look for:
- Clear course outcomes (e.g., prep, structure, fills, or nail art focus).
- Short, focused lessons for beginners, with step-by-step videos or checklists.
- Support options like live Q&A, office hours, or a knowledge base.
- Practice plans that fit your schedule.
Not sure where to find tutorials? You can often discover helpful how-tos and updates on the Blog.
Detailed Step-by-Step Process: From Unboxing to Your First Set with But First Nails
This simple roadmap works for both gel and acrylic. Follow it once with no nail art, then repeat and add creativity as you go. The goal is repetition and clean habits. It’s exactly how to get the most from shop But 1st Nails gel and acrylic products nail art supply DIY tutorials classes.
Step 1: Prep Your Station and Sanitize
Set up a clean, well-lit space. Place a mat or towel on your table. Wash hands and sanitize tools. Lay out files, buffers, lint-free wipes, and your chosen system (gel or acrylic). Keep a small trash bin nearby for dust and wipes. This makes the rest of your session smoother and safer.
Step 2: Nail Prep for Long-Lasting Wear
Gently push back cuticles. Remove non-living tissue only. Shape the free edge with a 180 grit file. Lightly buff the surface to remove shine. Dust off and cleanse. Use dehydrator and primer if your products call for them. Good prep is non-negotiable—this is where lifting and chipping are won or lost.
Step 3: Base, Structure, and Build (Gel or Acrylic)
Gel path: Apply a thin base coat and cure. Add a slip layer of builder gel, then float more gel to build apex and structure. Work one nail at a time, flip the hand palm-up for a few seconds to self-level, then cure. Repeat as needed to even out structure.
Acrylic path: Pick up a small bead, wait a beat until it looks satin, then place near the apex area. Pat and guide it into shape with control. Build with a few small beads rather than one large one for better consistency. Keep your brush clean, and maintain the side walls.
Whichever path you choose, keep things thin at the cuticle area and stronger at the apex. File and refine only after product is fully set or cured. Your structure is the foundation for color and art.
Step 4: Color, Nail Art, and Top Coat
Apply color in thin, even coats, curing gel between layers as required. For nail art, start with simple techniques like dots, clean French lines, or a single accent nail. Add chrome, foils, or decals once you’re comfortable. Seal with top coat, cap the free edge, and cure as directed. If you’re using acrylic with gel color on top, ensure the surface is refined and dust-free before color.
Step 5: Finish, Aftercare, and Quick Fixes
Cleanse if needed and apply cuticle oil. Remind yourself to use gloves for chores and avoid harsh chemicals on day one. If you notice lifting, plan to adjust prep or apex on your next set. Keep notes on what worked and what didn’t. This helps you grow faster with shop But 1st Nails gel and acrylic products nail art supply DIY tutorials classes.
Summary & Takeaway: Shop But 1st Nails Gel and Acrylic Products Nail Art Supply DIY Tutorials Classes
Success with gel and acrylic comes from a clear plan, the right tools, and consistent practice. Start simple: a reliable base kit, a short prep routine, and a clean build. Add art once your structure is steady. When you buy But 1st Nails gel and acrylic supplies, nail art, DIY tutorials and classes, you streamline your journey—and it shows in your results.
Need quick guidance or help picking beginner options? Reach out via Contact for friendly support.
Q&A: Shop But 1st Nails Gel and Acrylic Products, Nail Art Supplies, DIY Tutorials, and Classes
Does But 1st Nails offer online DIY tutorials for gel and acrylic nails?
Yes—if you’re exploring, you can often find step-by-step lessons and technique breakdowns in learning resources and posts. These DIY lessons help you handle prep, structure, fills, and simple nail art. If you’re a beginner, short, focused tutorials are the fastest way to improve and make your first sets last. For updates and how-tos, check the Blog.
Which nail art supplies should beginners buy from But 1st Nails for acrylic and gel?
Start with the basics: a gel base and top, a builder gel or acrylic powder and monomer, a reliable lamp (for gel), dehydrator and primer if used, a 180/240 file, soft buffer, and a cuticle pusher. For art, get a liner brush, dotting tool, and a neutral color palette you’ll wear often. This small setup covers prep, structure, and simple designs without overwhelm. When you’re ready, add foils, chrome, decals, and glitter to expand your looks. To compare options, browse Shop all.
Where can I find nail technician classes and workshops, and how do I choose?
Look for workshops or online classes that outline clear outcomes and include practice guides. Choose lessons that match your level—beginner focus for prep and structure, then intermediate for fills, shaping, and art. Favor courses with short, digestible modules, so you can learn in focused sessions. If you’re not sure where to start, explore educational updates and resources on the Blog, and then reach out on Contact with any questions.
About BUT 1ST NAILS: Expertise in Gel, Acrylic, Nail Art, and DIY Lessons
About the Author: BUT 1ST NAILS
BUT 1ST NAILS shares practical guidance on gel and acrylic systems, nail art, and beginner-friendly DIY lessons to help you get clean, lasting results. We love simple setups, clear steps, and products that work well together. Thanks for reading—if you need a nudge in the right direction, we’re here to help you build your best set yet.
The content in this blog post is intended for general information purposes only. It should not be considered as professional, medical, or legal advice. For specific guidance related to your situation, please consult a qualified professional. The store does not assume responsibility for any decisions made based on this information.